Zero Trust Security: Securing Web App on EC2 with Cloudflare Tunnel

Most internal web apps I have seen are deployed to the public internet. The assumption is usually that the app is secure enough, but the network layer is still exposed.
A better default is to put the app in a private subnet and access it through a tunnel. The options are site-to-site VPNs, bastion hosts, Direct Connect, PrivateLink, or tunneling. For most teams, Cloudflare Tunnel is the simplest and cheapest path.
The Challenge with Deploying Internal Applications
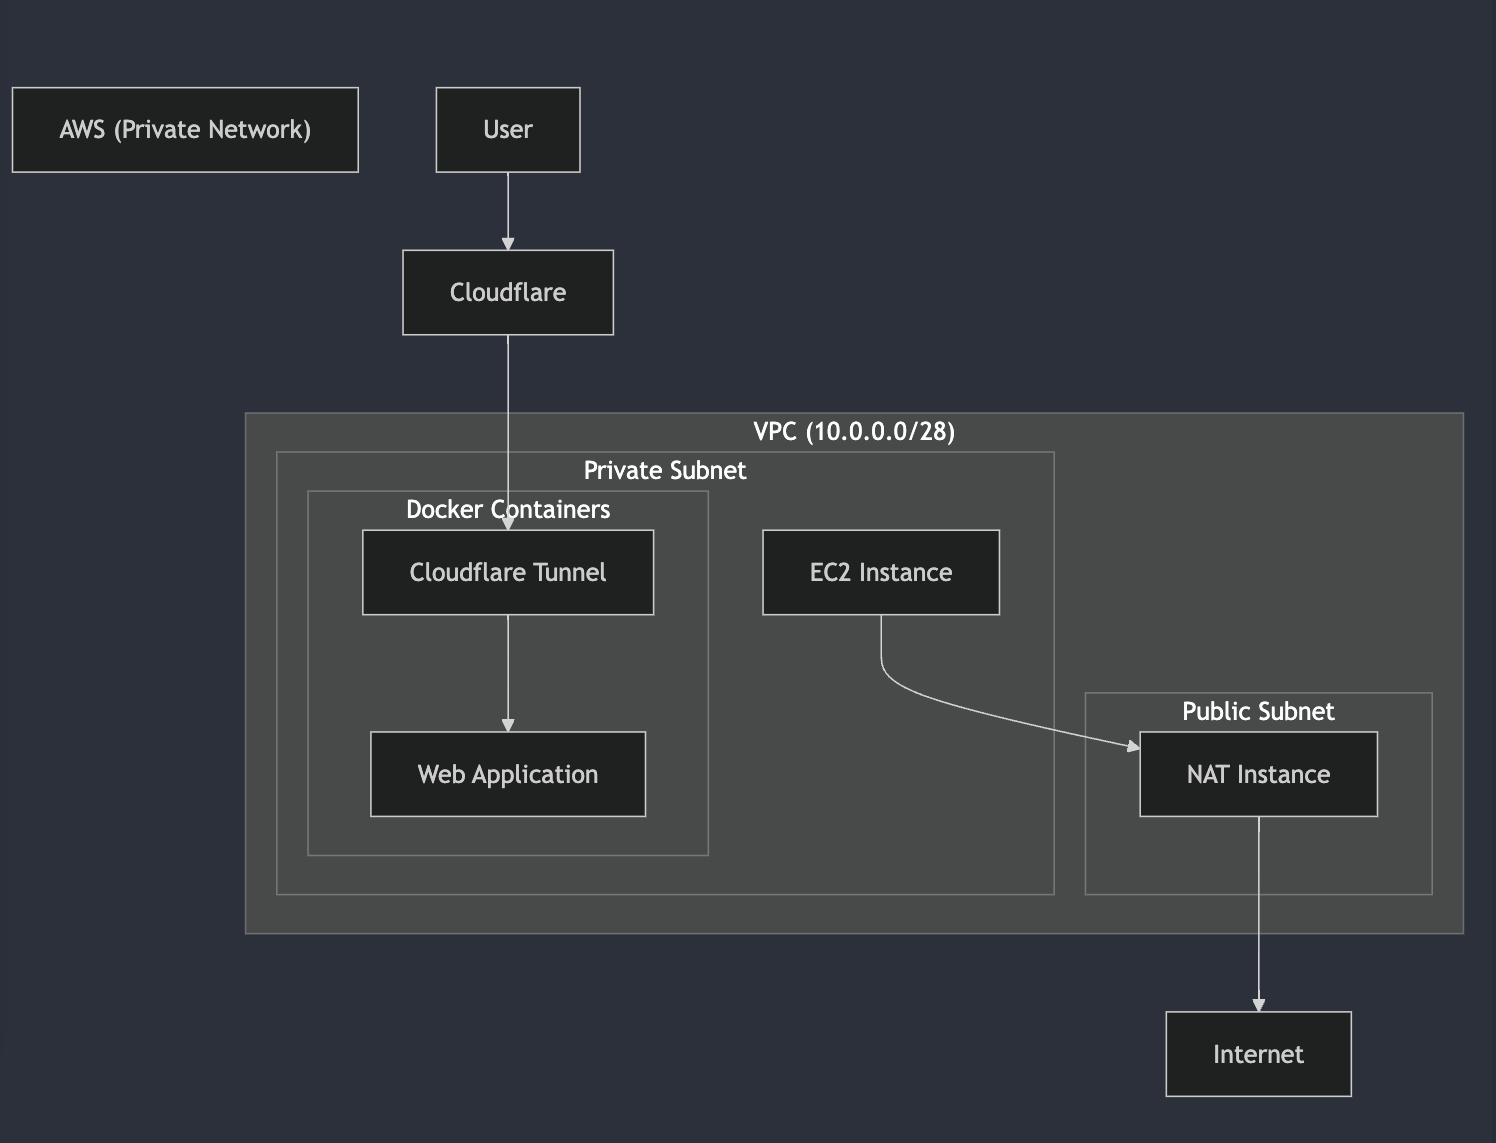
Cloudflare Zero Trust
If you say we should have our internal apps not deployed to the public internet, how do we then handle it? You deploy to private subnets/networks. But the cons of deploying to private subnets or private network? Accessing the apps, which then brings us to various solutions:
- Site-to-Site VPNs (OpenVPN, AWS VPN, WireGuard)
- Setting up bastion Host
- Direct Connect with AWS Direct Connect
- Private Link with AWS PrivateLink
- Tunneling
Following the mantra that I have also stuck with, "simplicity is preferable" so why not go for something simpler that works the same way - Cloudflare Tunneling.
AWS VPN and OpenVPN work, but Cloudflare Tunnel is free and requires no client-side VPN configuration for most users.
Prerequisites
- Experience with OpenTofu/Terraform
- Cloudflare Account with Your Domain Added Already
- Your Container Repository to push your the container image built from the Dockerfile
- Access to Google Workspace for SSO
Implementation overview
The full OpenTofu code is on GitHub.
| Step | What you build | Why it matters |
|---|---|---|
| 1 | cloudflared container image | Connects the private EC2 instance to Cloudflare's edge. |
| 2 | VPC with public/private subnets and fck-nat | Hosts the app in a private subnet without AWS NAT Gateway cost. |
| 3 | EC2 instance in the private subnet | Runs the internal application behind the tunnel. |
| 4 | Google Workspace IdP + access policy | Authenticates users and enforces device posture. |
| 5 | Cloudflare Tunnel + DNS record | Publishes the app behind Zero Trust without exposing the origin. |
1. Building our cloudflared container image
First, we'll build the cloudflared container image, here is the Dockerfile and entrypoint.sh file for that.
So you have to build the container using the below command, depending on the container image, your build syntax might change, but ensure you build for platform linux/arm64 because the instance we are dealing with is linux/arm64 architecture.
docker buildx build --platform linux/arm64 -t $YOUR_CONTAINER_REGISTRY/$YOUR_CONTAINER_REPOSITORY:$IMAGE_TAG -f Dockerfile . --push
Here is the Dockerfile file configurations
# ==============================================================================
# Download cloudflared
# ==============================================================================
FROM debian:bookworm-slim as build

# Install dependencies
RUN apt-get update                       && \
    apt-get install -y curl

# Download cloudflared
RUN curl -L https://github.com/cloudflare/cloudflared/releases/latest/download/cloudflared-linux-amd64 -o cloudflared  && \
    chmod +x cloudflared                && \
    mv cloudflared /usr/local/bin/

# ==============================================================================
# Run from alpine
# ==============================================================================
FROM alpine:3.20

# Install dependencies
RUN apk update && apk add --no-cache aws-cli

# Get cloudflared from build
COPY --from=build /usr/local/bin/cloudflared /usr/local/bin/cloudflared

# Copy script
WORKDIR /etc/cloudflared
COPY ./entrypoint.sh /etc/cloudflared/entrypoint.sh
RUN chmod +x /etc/cloudflared/entrypoint.sh

# Run script
ENTRYPOINT ["/etc/cloudflared/entrypoint.sh"]
#! /bin/sh

set -ueo pipefail

# ==============================================================================
# CONFIG
# ==============================================================================
#
# STATIC
#
PATH_CLOUDFLARED="/etc/cloudflared"
PATH_CREDENTIALS="${PATH_CLOUDFLARED}/credentials.json"
PATH_CONFIG="${PATH_CLOUDFLARED}/config.yml"

#
# ENV VARS
#
VAR_ORIGIN_URL=${ORIGIN_URL}
VAR_TUNNEL_UUID=${TUNNEL_UUID}

#
# SECRETS
#
VAR_TUNNEL_CREDENTIALS=${TUNNEL_CREDENTIALS}


# ==============================================================================
# PREPARE CLOUDFLARED CONFIG
# ==============================================================================
#
# Create folder
#
mkdir -p ${PATH_CLOUDFLARED}

#
# Fetch secrets
#
echo "[*] Fetching Cloudflared Tunnel: credentials JSON..."
echo "$VAR_TUNNEL_CREDENTIALS" > $PATH_CREDENTIALS

#
# Create config file
#
echo -e "tunnel: ${VAR_TUNNEL_UUID}
credentials-file: ${PATH_CREDENTIALS}
url: ${VAR_ORIGIN_URL}
no-autoupdate: true" > $PATH_CONFIG


# ==============================================================================
# RUN TUNNEL
# ==============================================================================

# Run tunnel
echo "[*] Starting tunnel..."
cloudflared tunnel --config ${PATH_CONFIG} run ${VAR_TUNNEL_UUID}
2. VPC and Network Infrastructure
First, we'll set up our VPC with public and private subnets:
resource "aws_vpc" "main" {
  cidr_block           = var.vpc_cidr
  enable_dns_hostnames = var.vpc_enable_dns_hostnames
  tags = merge(
    var.tags,
    {
      Name = "${var.prefix}_vpc"
    }
  )
}

# Public and Private Subnets
resource "aws_subnet" "public" {
  vpc_id                  = aws_vpc.main.id
  cidr_block              = var.public_subnet_cidr
  availability_zone       = "us-east-1a"
  map_public_ip_on_launch = true
}

resource "aws_subnet" "private" {
  vpc_id            = aws_vpc.main.id
  cidr_block        = var.private_subnet_cidr
  availability_zone = "us-east-1a"
}
Then we implement the fck-nats the alternative to AWS NAT Gateway, instead of using the expensive AWS NAT Gateway, we implement a cost-effective alternative using fck-nat
module "fck-nat" {
  source        = "RaJiska/fck-nat/aws"
  version       = "1.3.0"
  name          = "fck-nat-${var.env}"
  vpc_id        = aws_vpc.main.id
  subnet_id     = aws_subnet.public.id
  instance_type = "t4g.nano"
  ha_mode       = true
}
3. EC2 Instance Configuration
Our EC2 instance runs in the private subnet:
resource "aws_instance" "ec2" {
  ami           = data.aws_ami.amazon_linux_2023.id
  instance_type = var.instance_type
  subnet_id     = aws_subnet.private.id
  vpc_security_group_ids = [aws_security_group.private_sg.id]
  iam_instance_profile   = aws_iam_instance_profile.instance_profile.name
  user_data             = local.instance_values

  metadata_options {
    http_endpoint = "enabled"
    http_tokens   = "required"
  }
}
4. Identity and Access Management
Here is where we define how to access the app beyound whatever AuthZ and Auth you might have defined or designed for your application, i see this as an additional security leverage.
You get the chance to use IdP, SAML, OpenID Connect or One-time PIN, but in this guide, we would be using Google Workspace as out IdP, here is a guide to help you set it up on the cloudflare zero trust console.
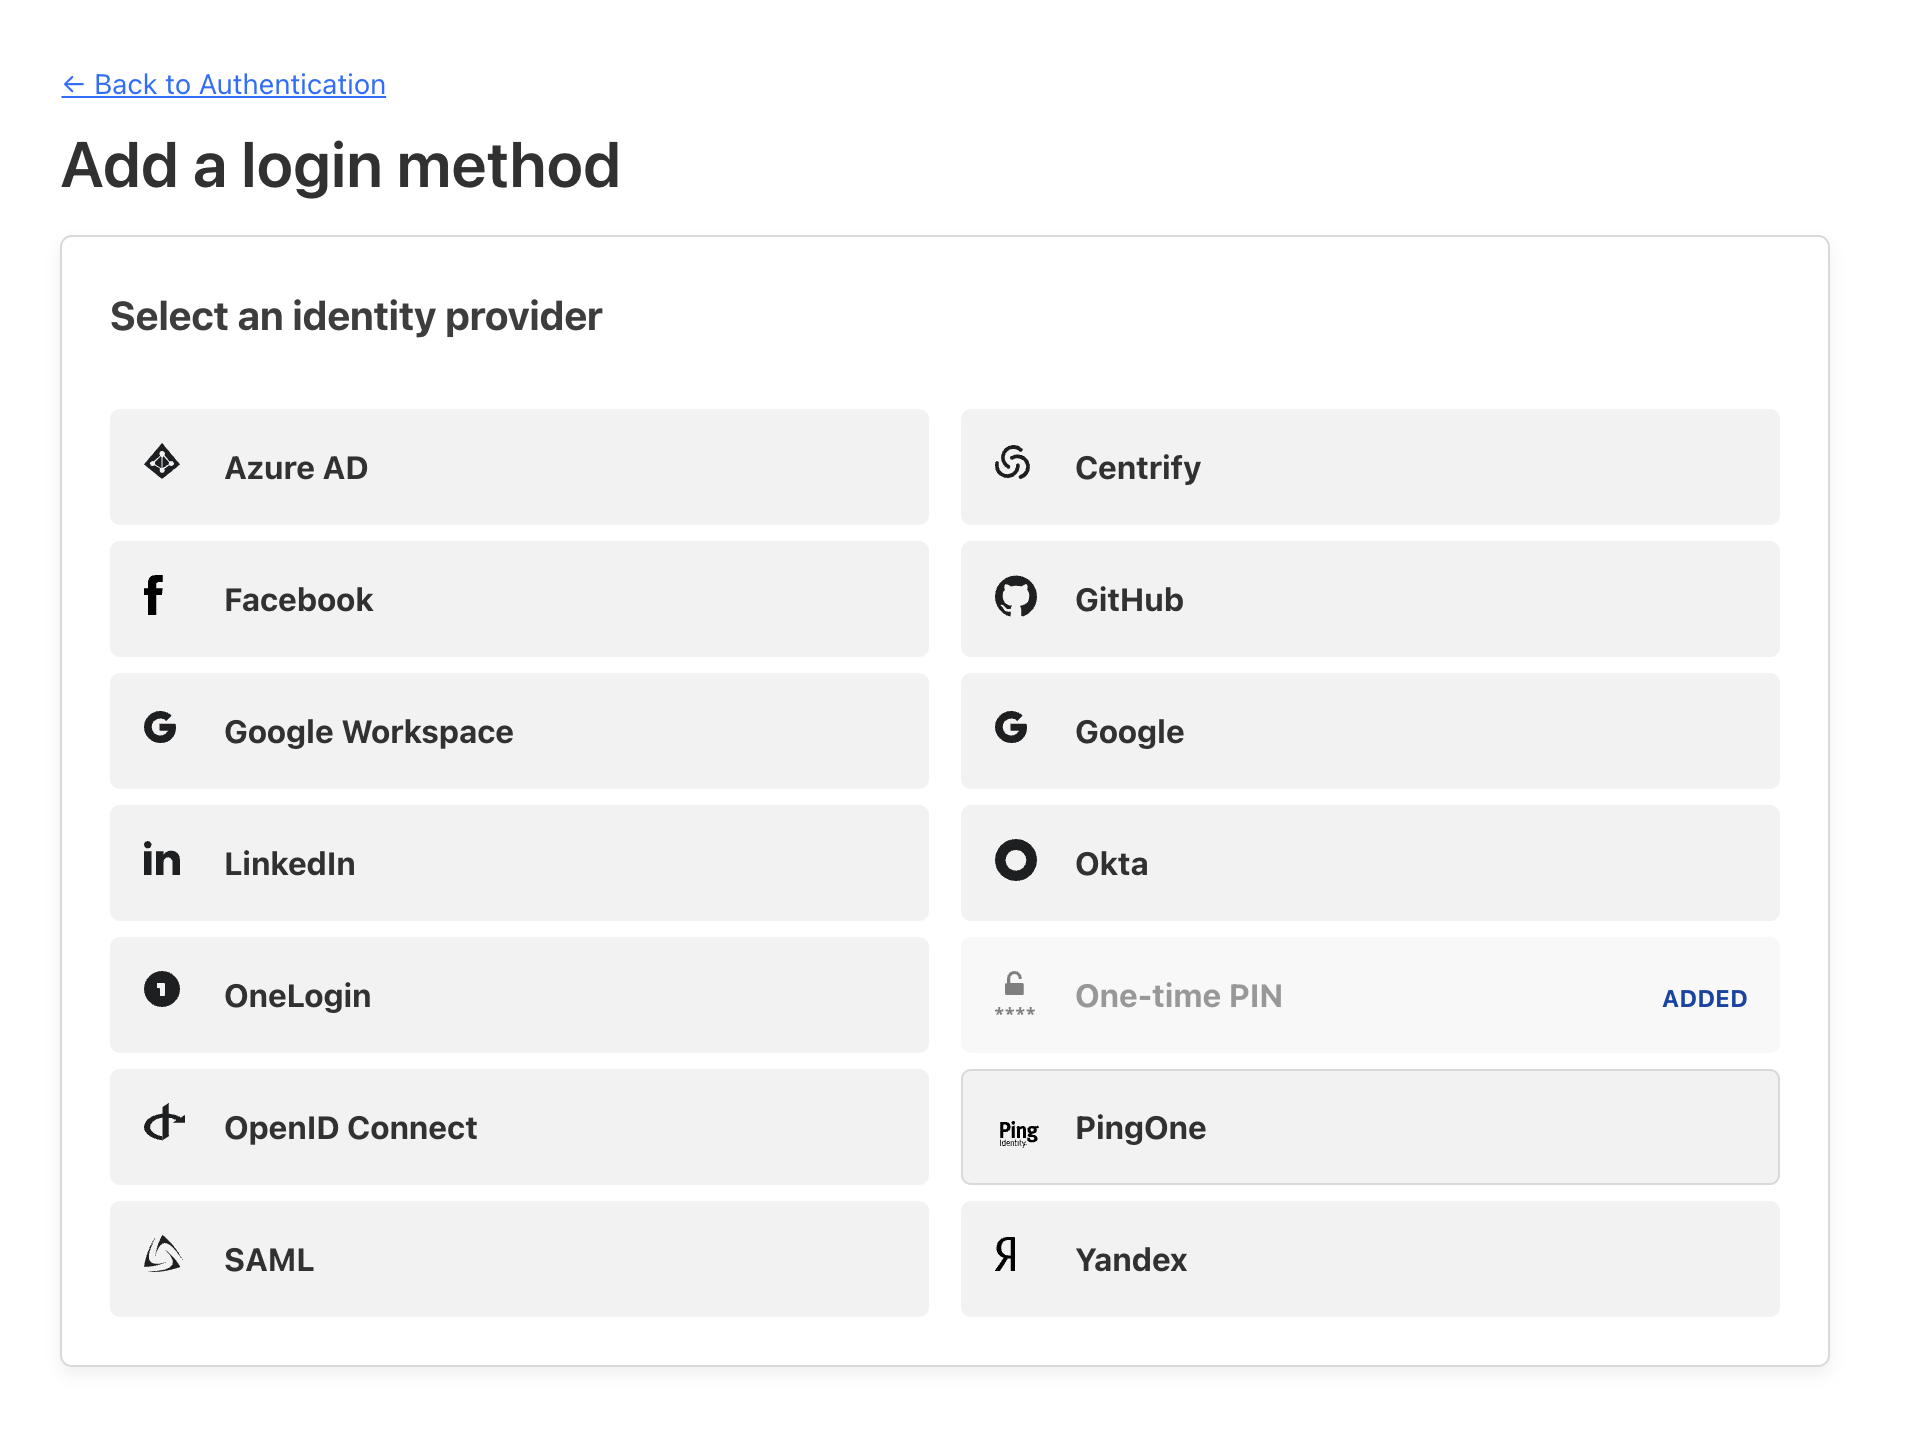
Setting Warp Client Posture Check
If you are done with the setup, you will be left with google_oauth_client_id and google_oauth_client_secret credentials.
And as you know, you can't hardcode those values in your IaC code, so you need to store it as a SecureString in AWS Parameter store or whatever alternative of AWS Parameter Store that you have on the Cloud Infra you are using.
Wrote a piece on how to handle secrets in IaC, you can check it out too.
Google Workspace Integration
data "aws_ssm_parameter" "google_oauth_client_id" {
  name = "/internalwebapp/google_oauth_client_id"
}

data "aws_ssm_parameter" "google_oauth_client_secret" {
  name = "/internalwebapp/google_oauth_client_secret"
}

resource "cloudflare_zero_trust_access_identity_provider" "google_workspace" {
  account_id = var.cloudflare_account_id
  name       = "Google Workspace IdP"
  type       = "google"
  config {
    client_id     = data.aws_ssm_parameter.google_oauth_client_id.value
    client_secret = data.aws_ssm_parameter.google_oauth_client_secret.value
    apps_domain   = var.google_workspace_domain
  }
}
Trust Access App and Policy Configuration
Here is where we create the trust access application and the policy for it
resource "cloudflare_zero_trust_access_application" "app" {
  account_id = var.cloudflare_account_id
  name       = "internalwebapp"
  domain     = local.environment.domain

  allowed_idps = [cloudflare_zero_trust_access_identity_provider.google_workspace.id]

  type                  = "self_hosted"
  session_duration      = "24h"
  app_launcher_visible  = true
  app_launcher_logo_url = var.cloudflare_app_logo
}

resource "cloudflare_zero_trust_access_policy" "policy" {
  account_id     = var.cloudflare_account_id
  application_id = cloudflare_zero_trust_access_application.app.id

  name                           = "internalwebapp-filter"
  precedence                     = "1"
  decision                       = "allow"
  purpose_justification_required = true

  include {
    login_method = [cloudflare_zero_trust_access_identity_provider.google_workspace.id]
  }

  require {
    gsuite {
      identity_provider_id = cloudflare_zero_trust_access_identity_provider.google_workspace.id
    }
    group = local.environment.cloudflare_config.allowed_groups
  }
}
The group local.environment.cloudflare_config.allowed_groups here is where we are adding the warp client requirement, i couldnt find the OpenTofu config for the cloudflare provider that allowed adding warp client as a requirement, so i had to create the access group via the console and add it as a group here.
To do the same thing, you need to enable the warp client manually via the console, on your Cloudflare One console,
Lets enable warp client first, head over to the settings section from the sidebar and click on Warp Client
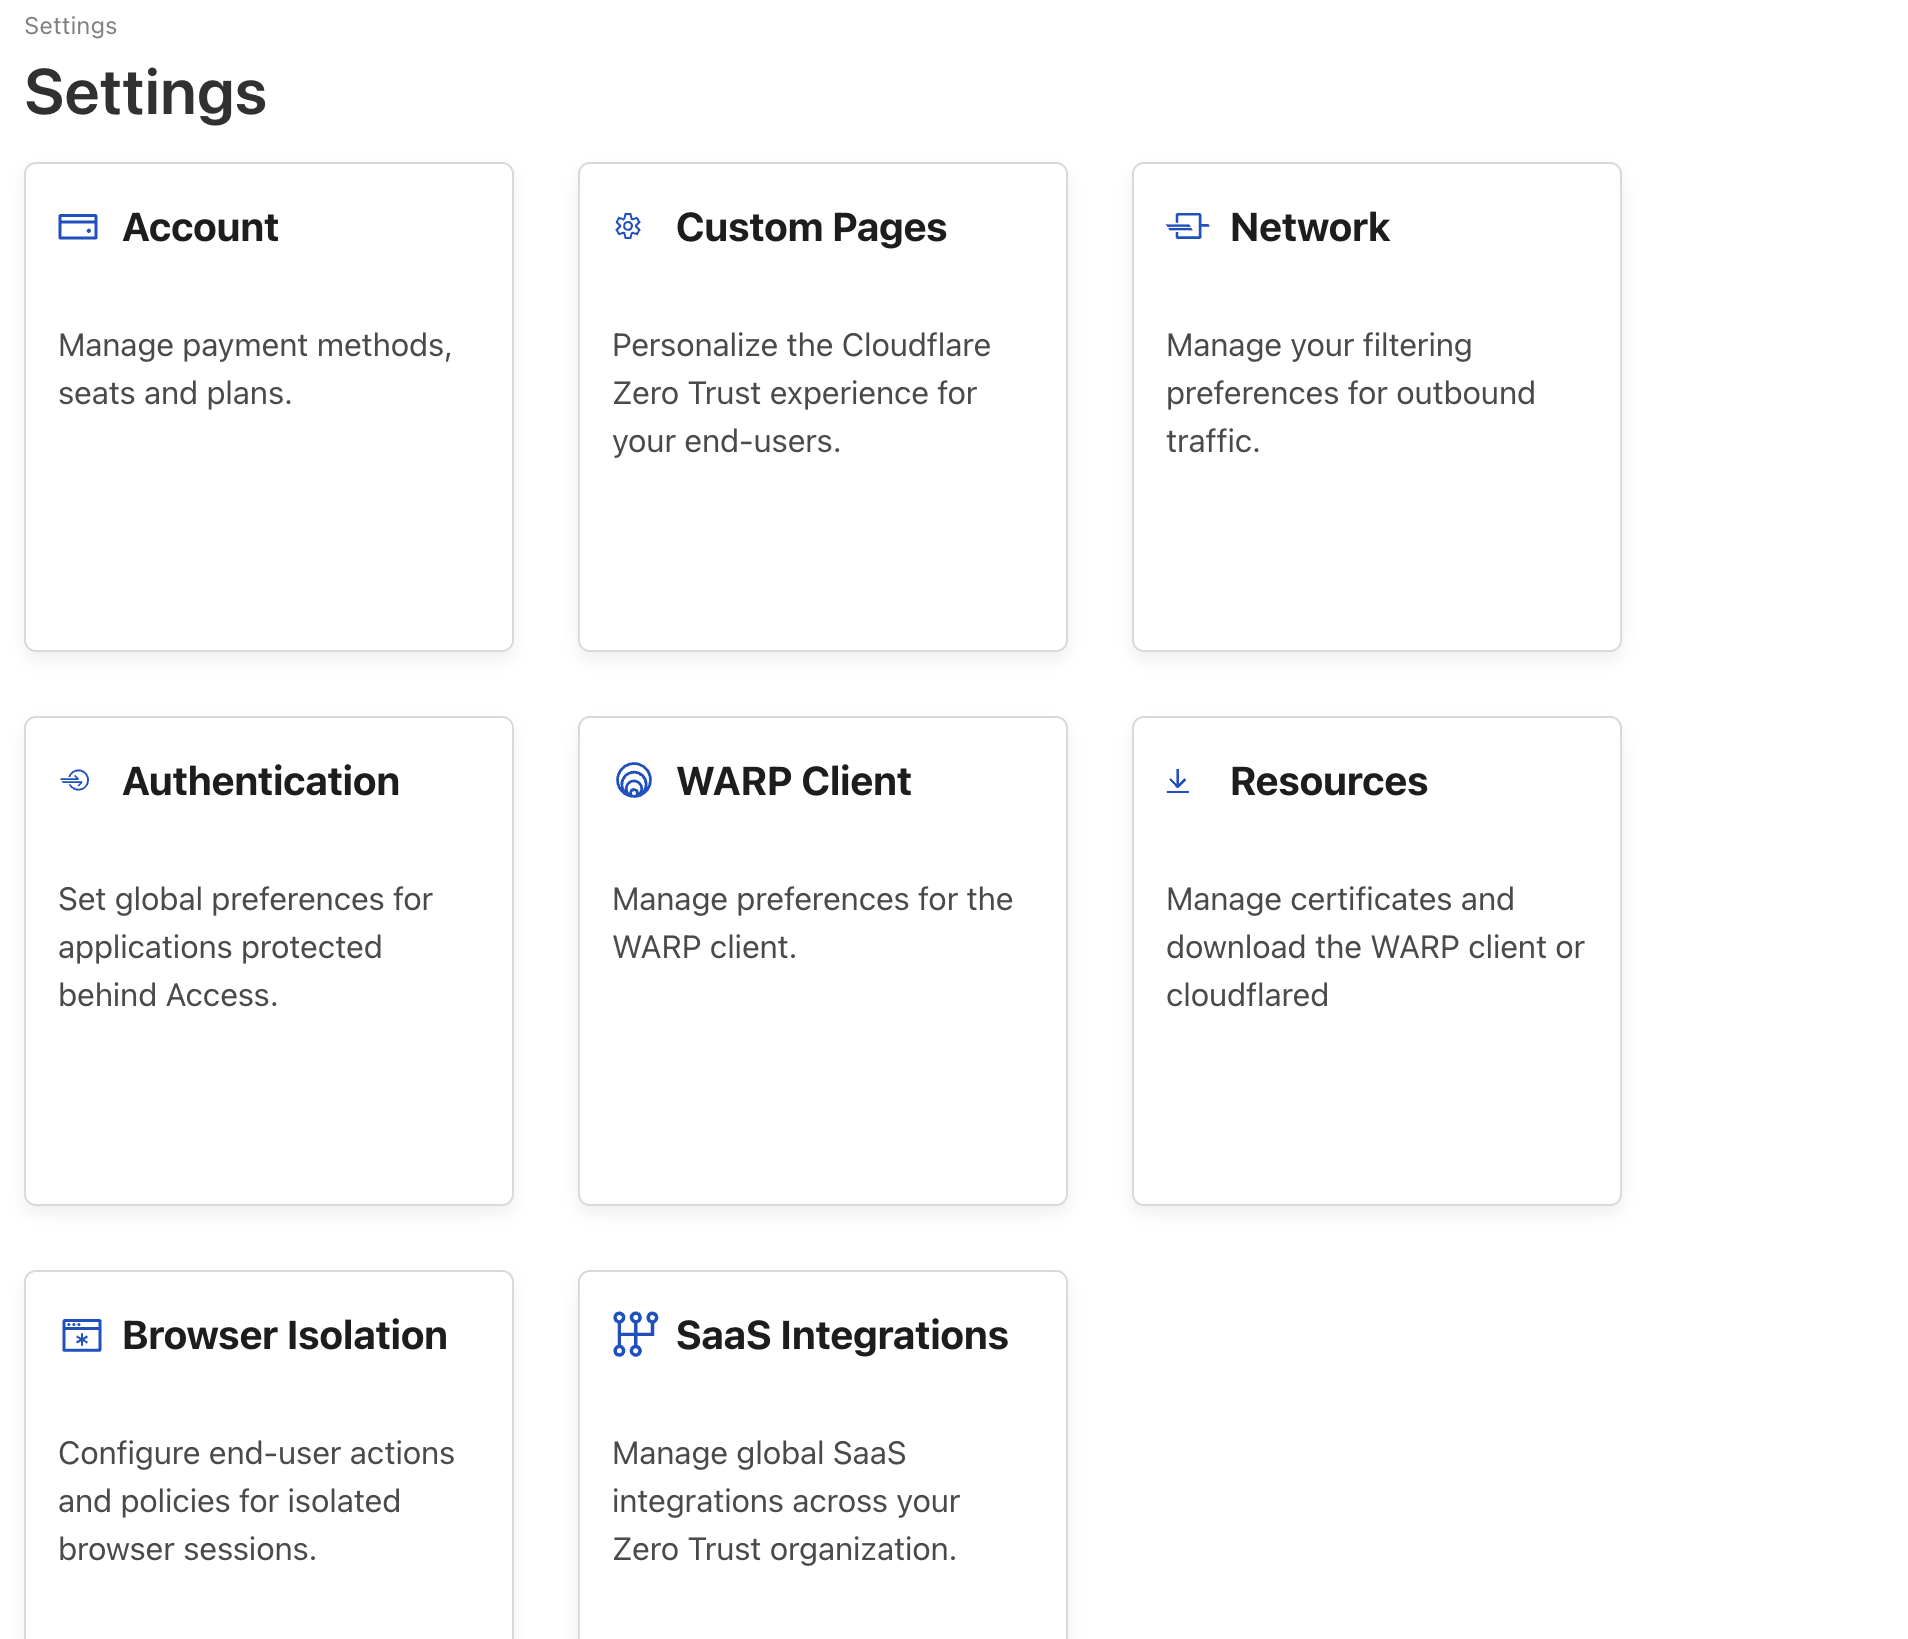
Cloudflare One Warp Client
Scroll down to the Device posture section, you will see warp client check settings, click on the Add new button
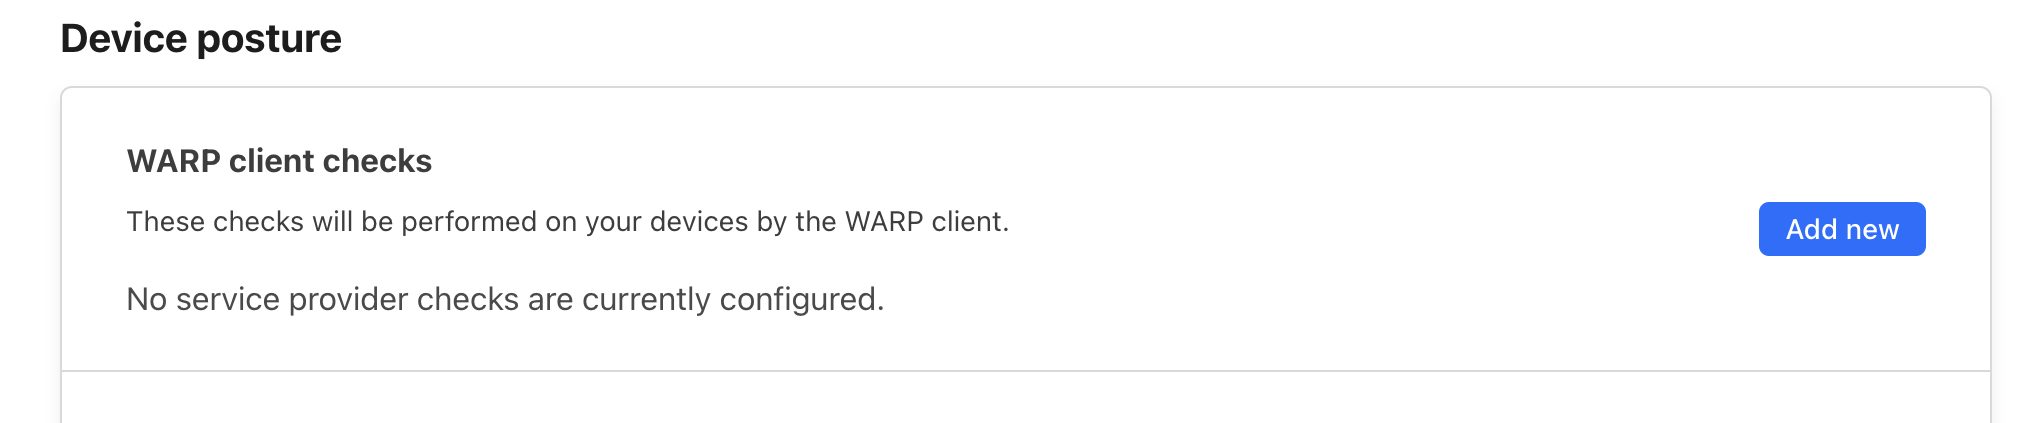
Cloudflare One Warp Client Settings
Select Warp from all the options and save it
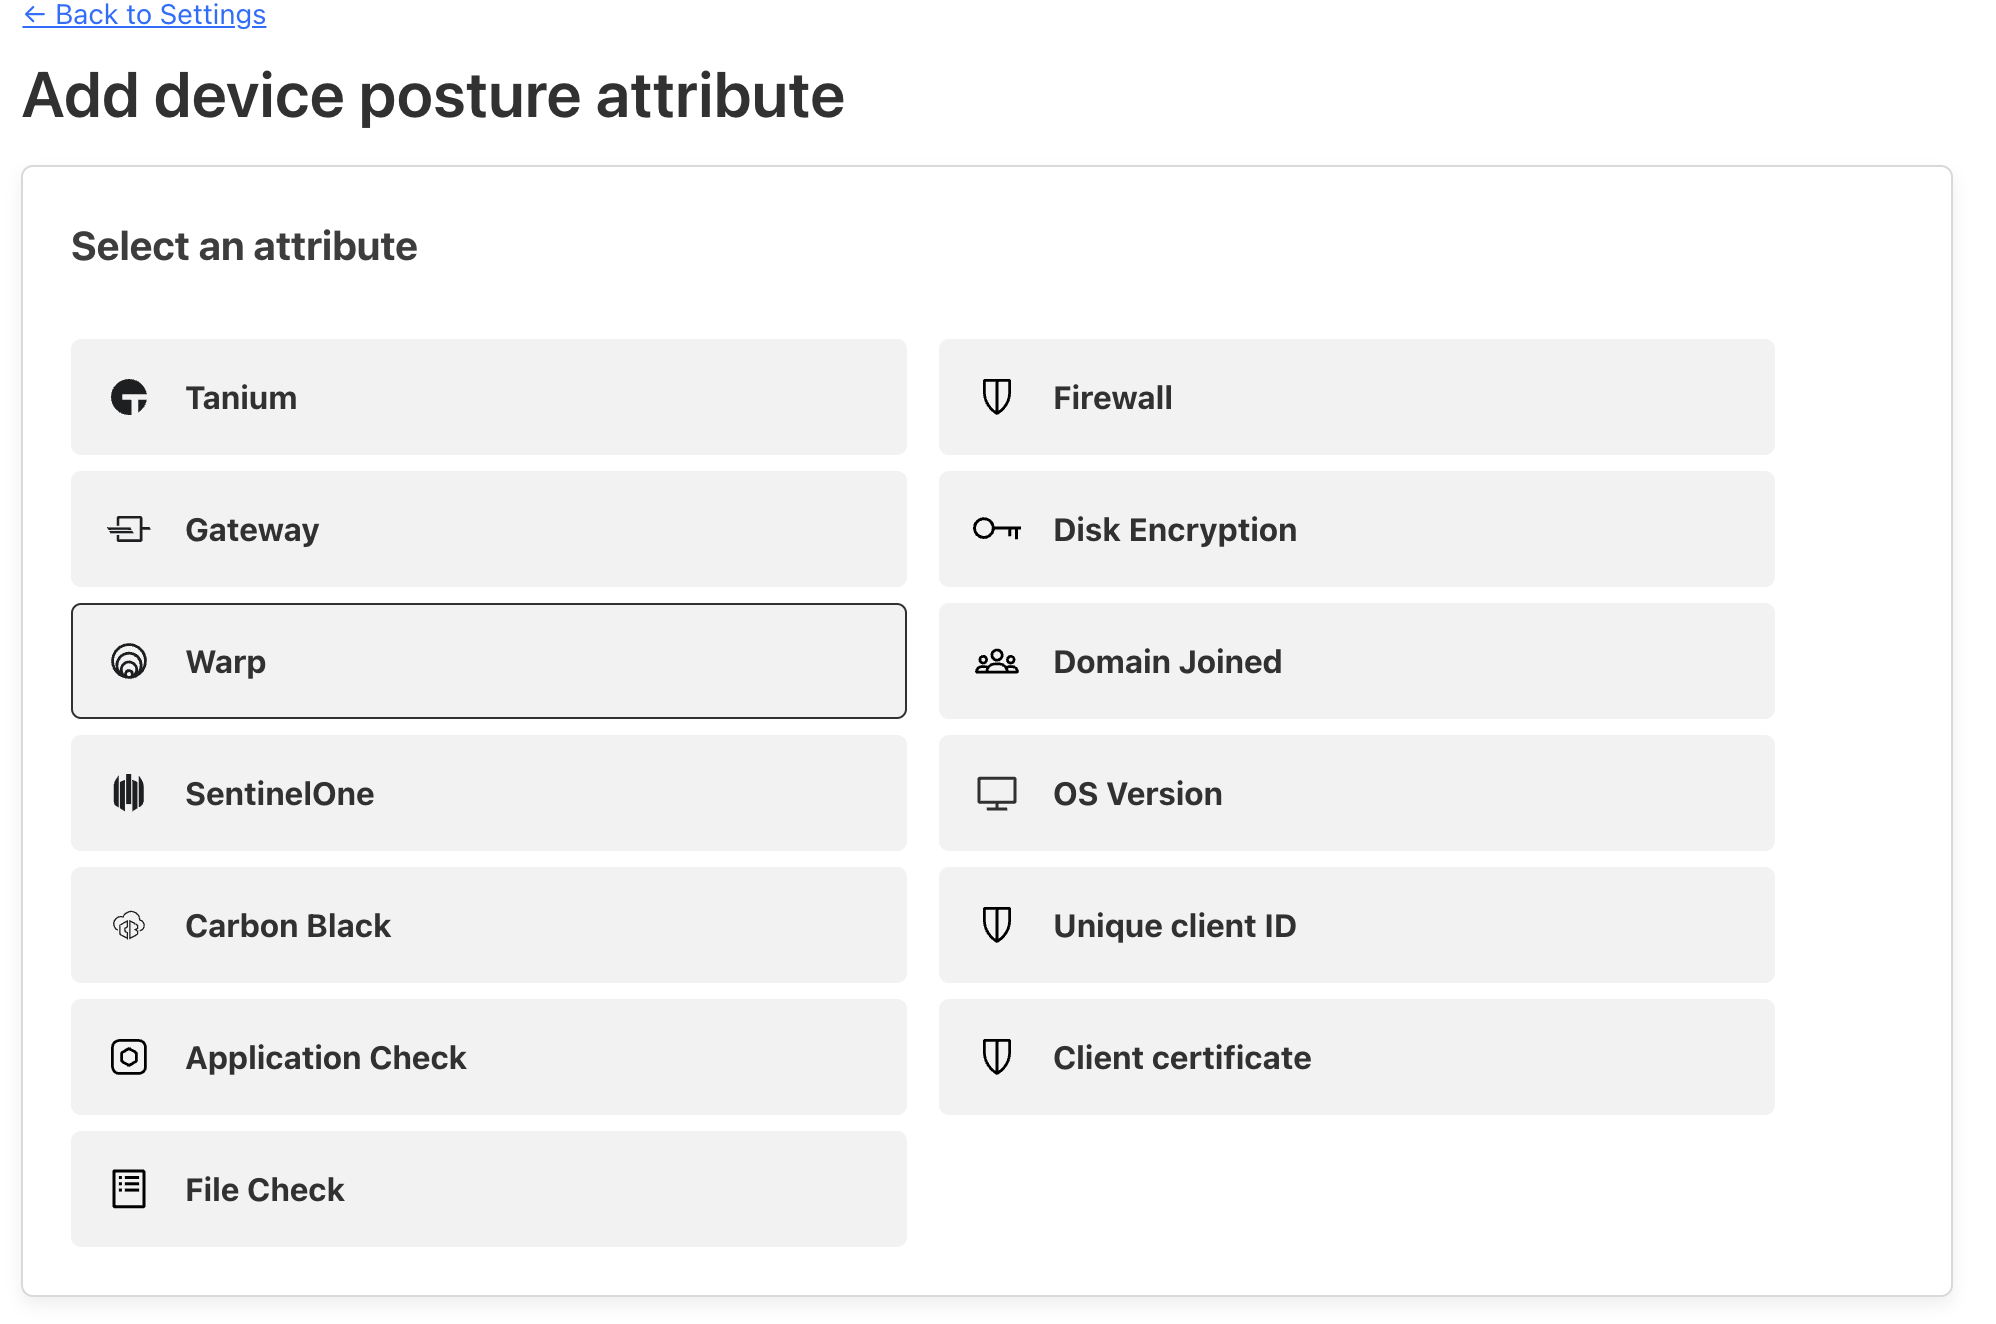
Setting Warp Client Posture Check
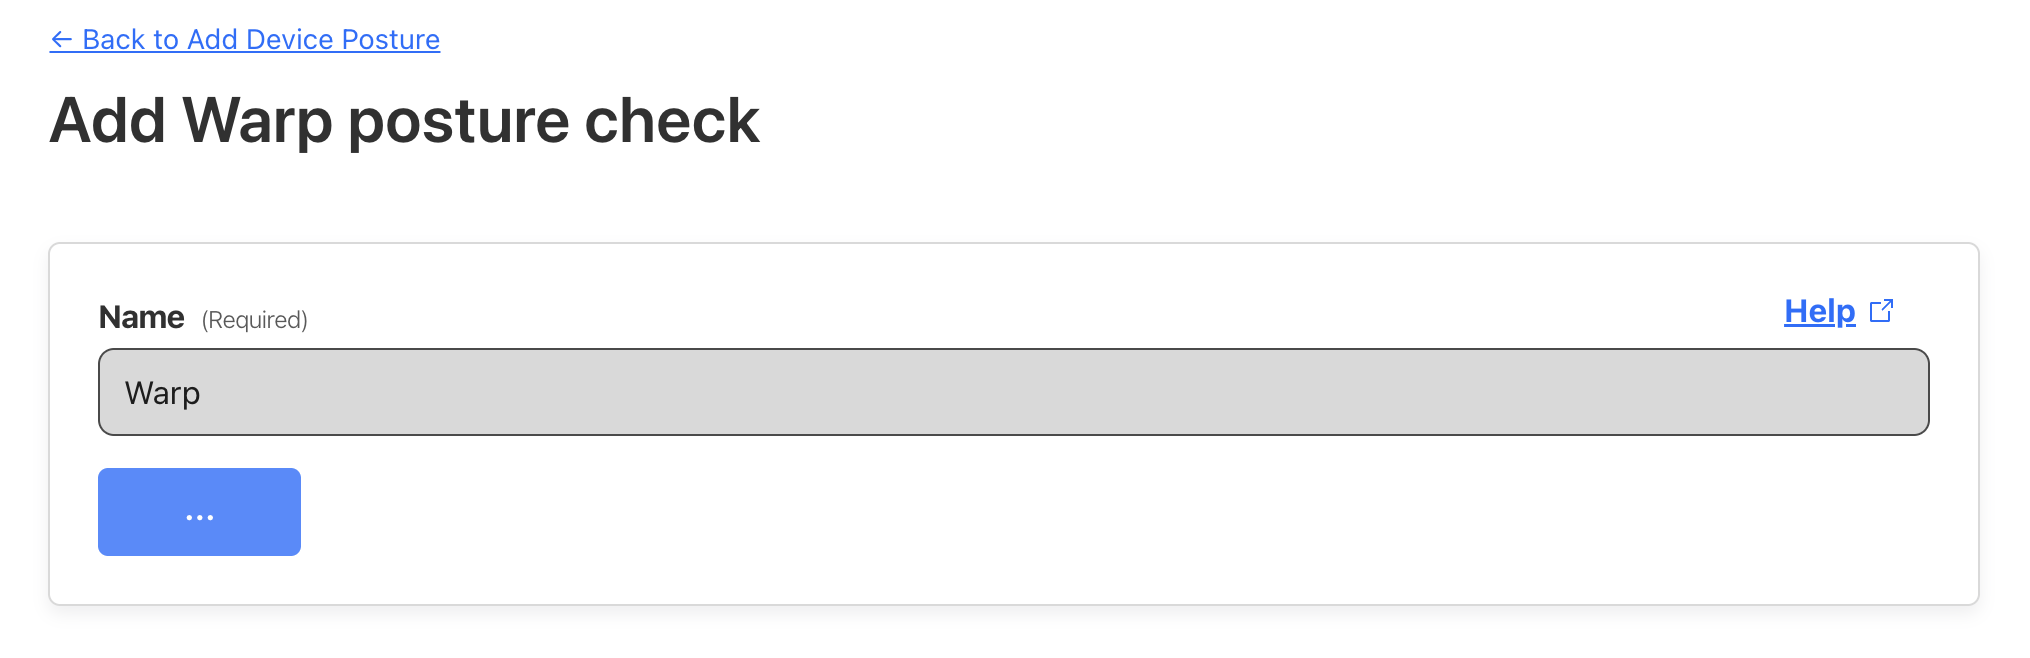
Setting Warp Client Posture Check
After that, you can head over to the Access section on the sidebar and dropdown its option you will see Access groups, click on it and create a group
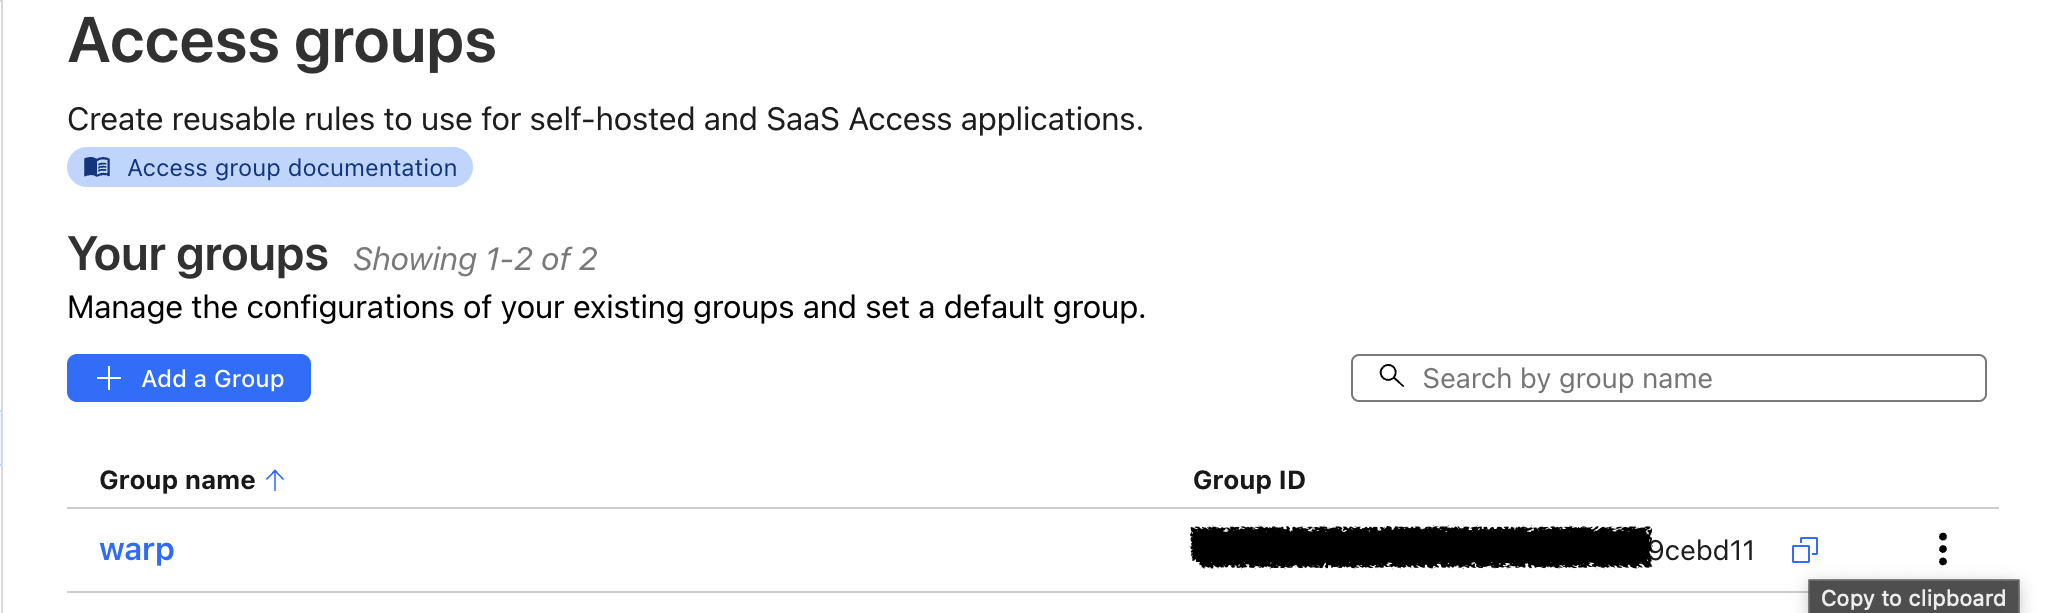
Creating Access Groups on Cloudflare One
Add the group name and define the group criteria as inclusion of warp client, after the creation, copy the group ID and replace it as a group ID value in the IaC code.
Creating Access Groups on Cloudflare One
5. Cloudflare Tunnel Setup
Configure the tunnel and DNS Setup
resource "cloudflare_zero_trust_tunnel_cloudflared" "tunnel" {
  account_id = var.cloudflare_account_id
  name       = "tunnel"
  secret     = random_password.tunnel_secret.result
}

resource "cloudflare_zero_trust_tunnel_cloudflared_config" "config" {
  account_id = var.cloudflare_account_id
  tunnel_id  = cloudflare_zero_trust_tunnel_cloudflared.tunnel.id

  config {
    warp_routing {
      enabled = true
    }
    ingress_rule {
      service = local.environment.origin_url
    }
  }
}
here is how your cloudflare tunnel should look if health
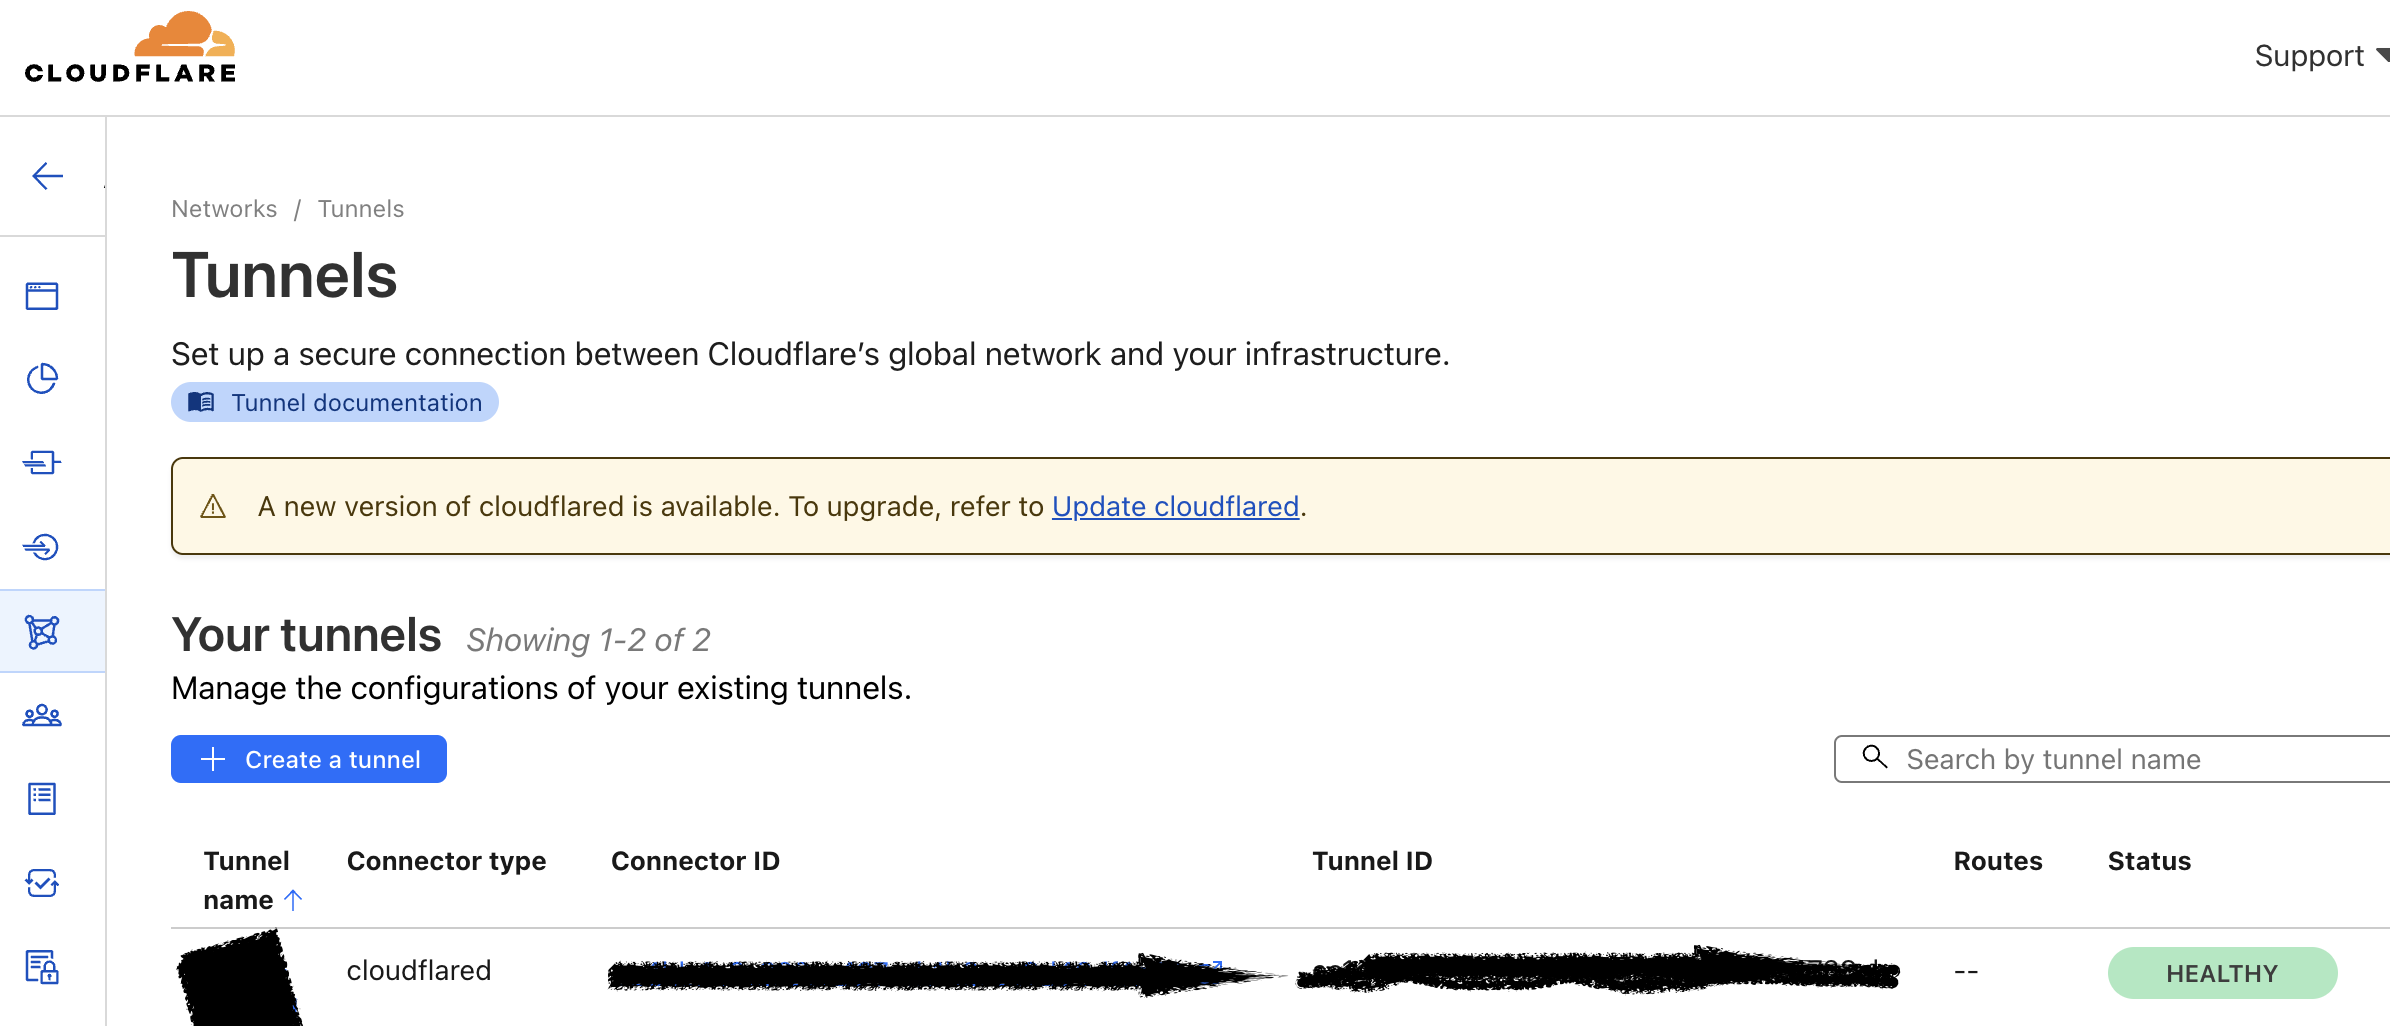
Cloudflare Tunnel
resource "cloudflare_record" "dns" {
  zone_id = var.cloudflare_zone_id
  name    = local.environment.domain
  value   = cloudflare_zero_trust_tunnel_cloudflared.tunnel.cname
  type    = "CNAME"
  proxied = true
  ttl     = 1
}
And lastly before you run tofu plan && tofu apply --auto-approve you need to create cloudflare api token for the cloudflared provider in your provider.tf
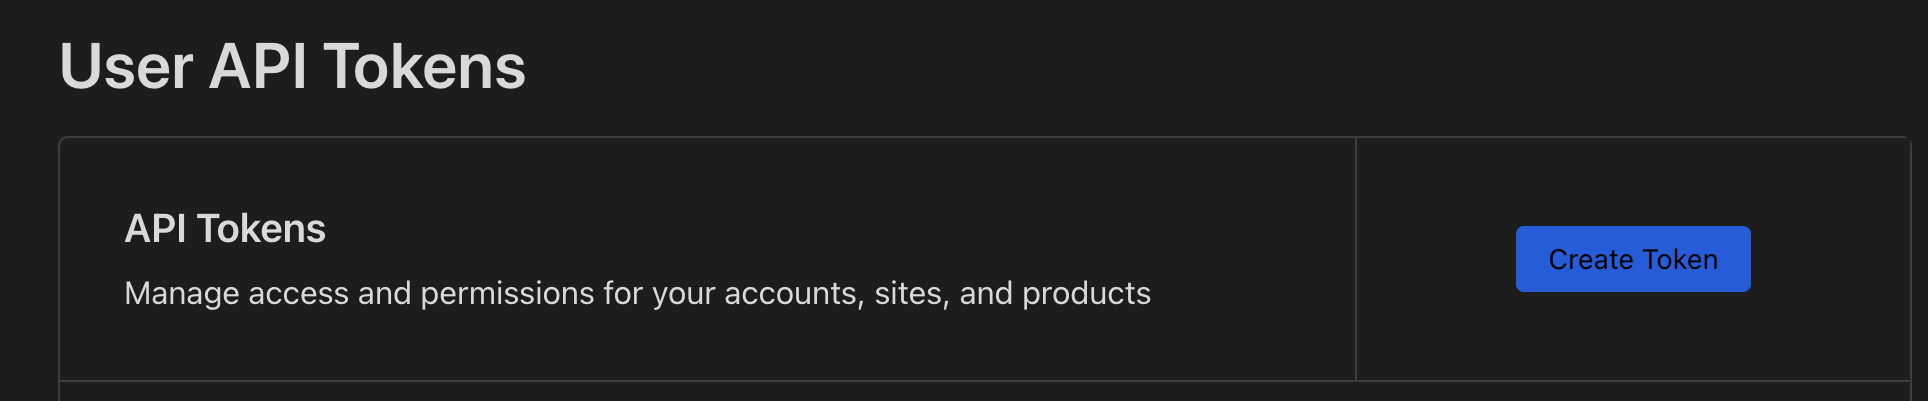
Cloudflare API Token Creation
provider "cloudflare" {
  api_token = "YOUR_CLOUDFLARE_TOKEN"
}
You can streamline your permission based on your usecase also, this is just a snippet to help you see what it looks like
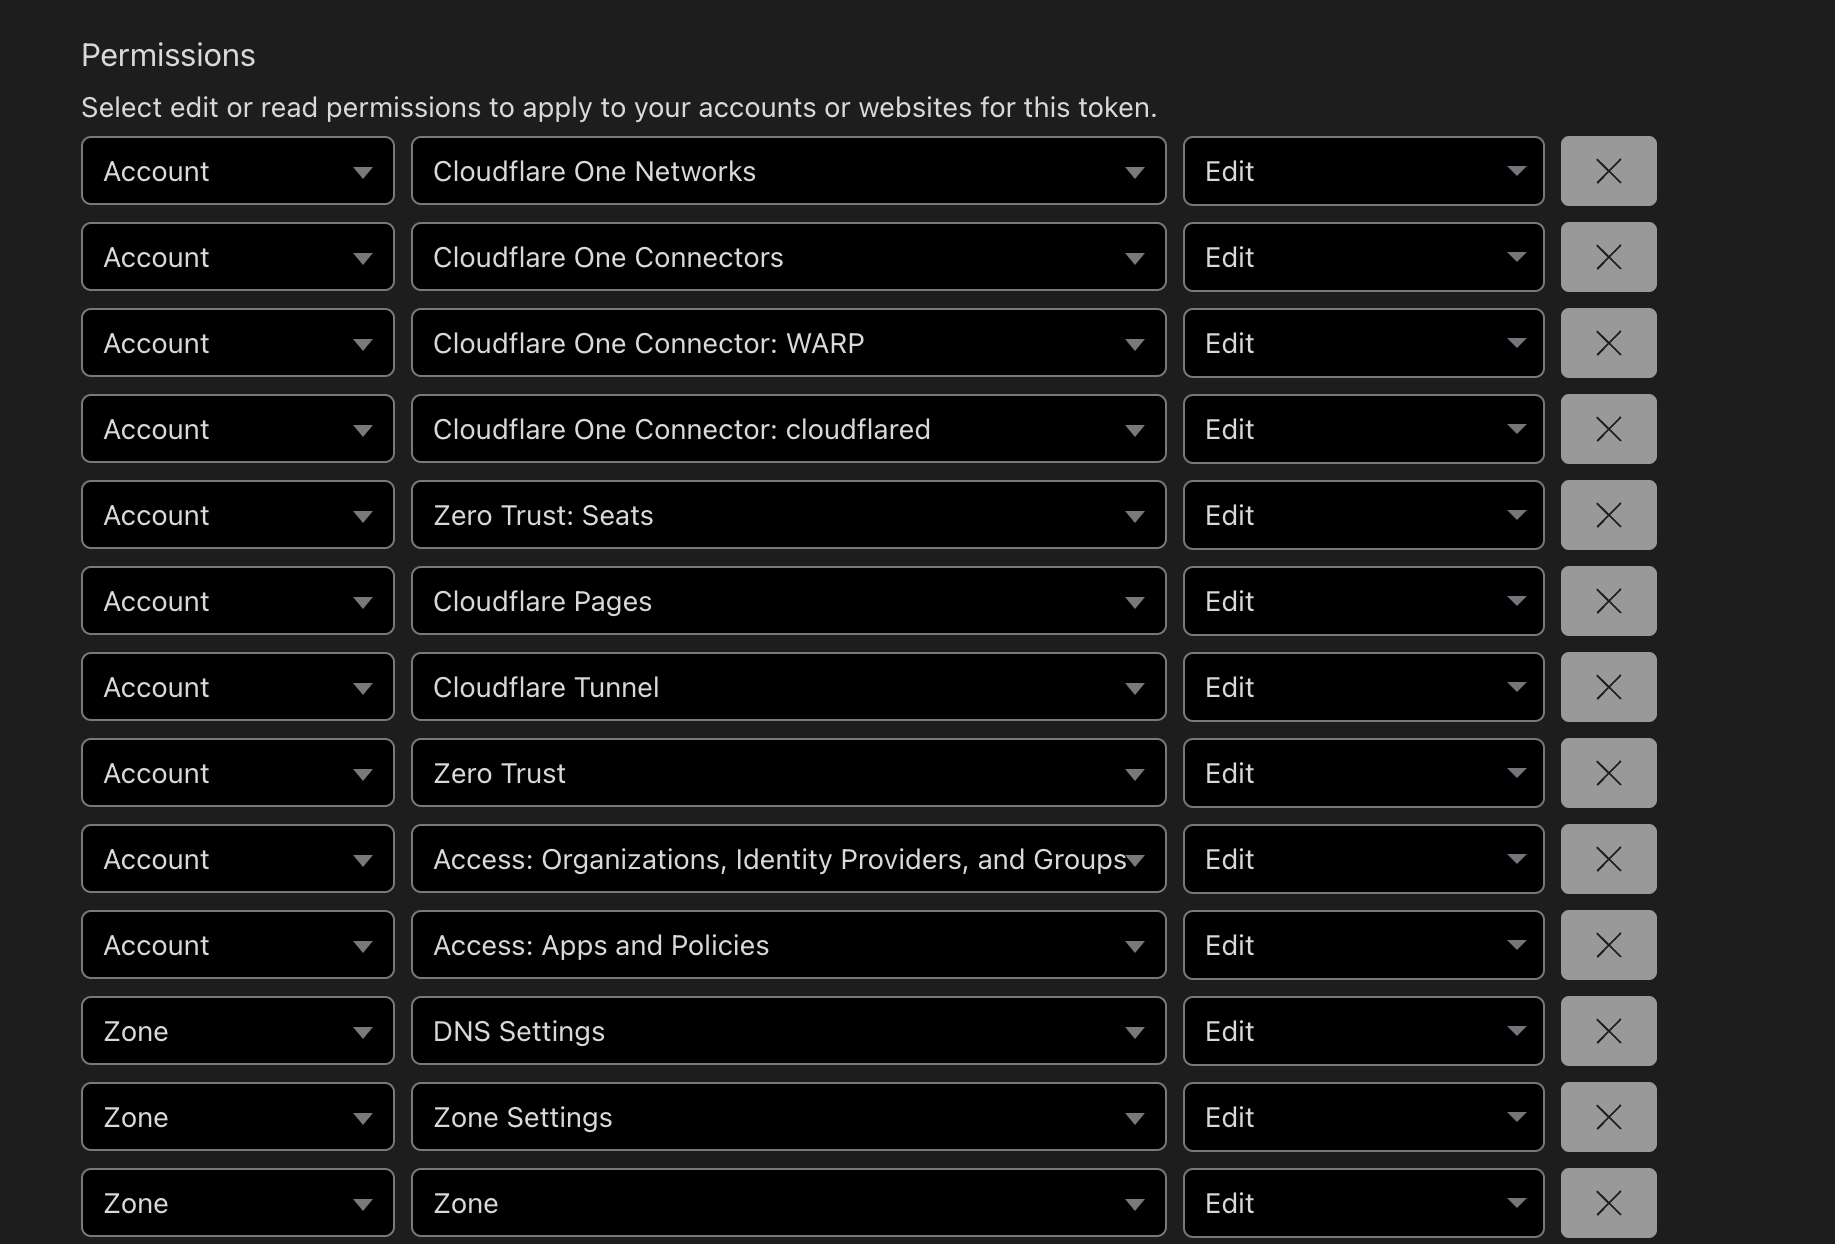
Cloudflare API Token Permission
At the end of the day, here is what your final webapp should look like if you have warp turned on your devices.
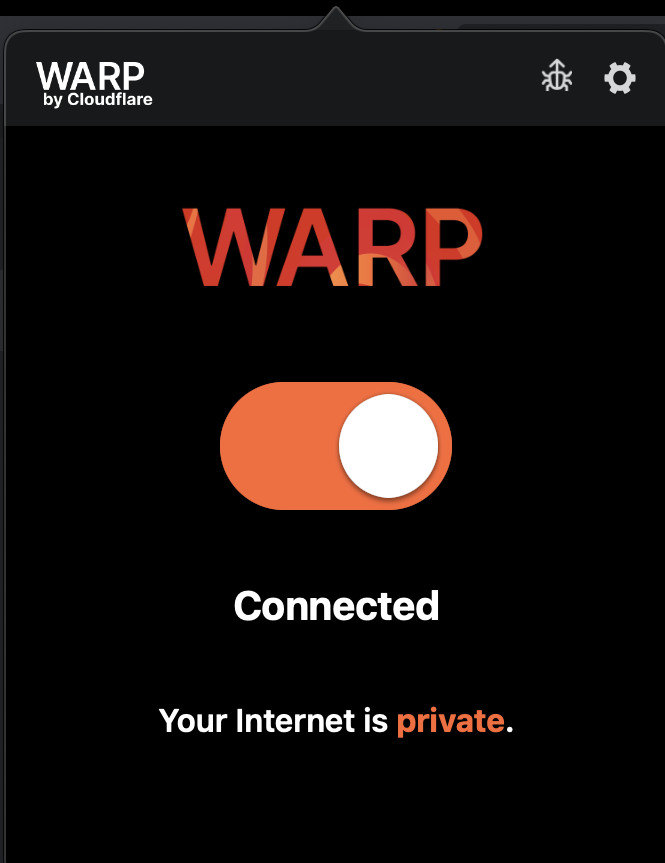
Enabled Warp Client on Your Devices
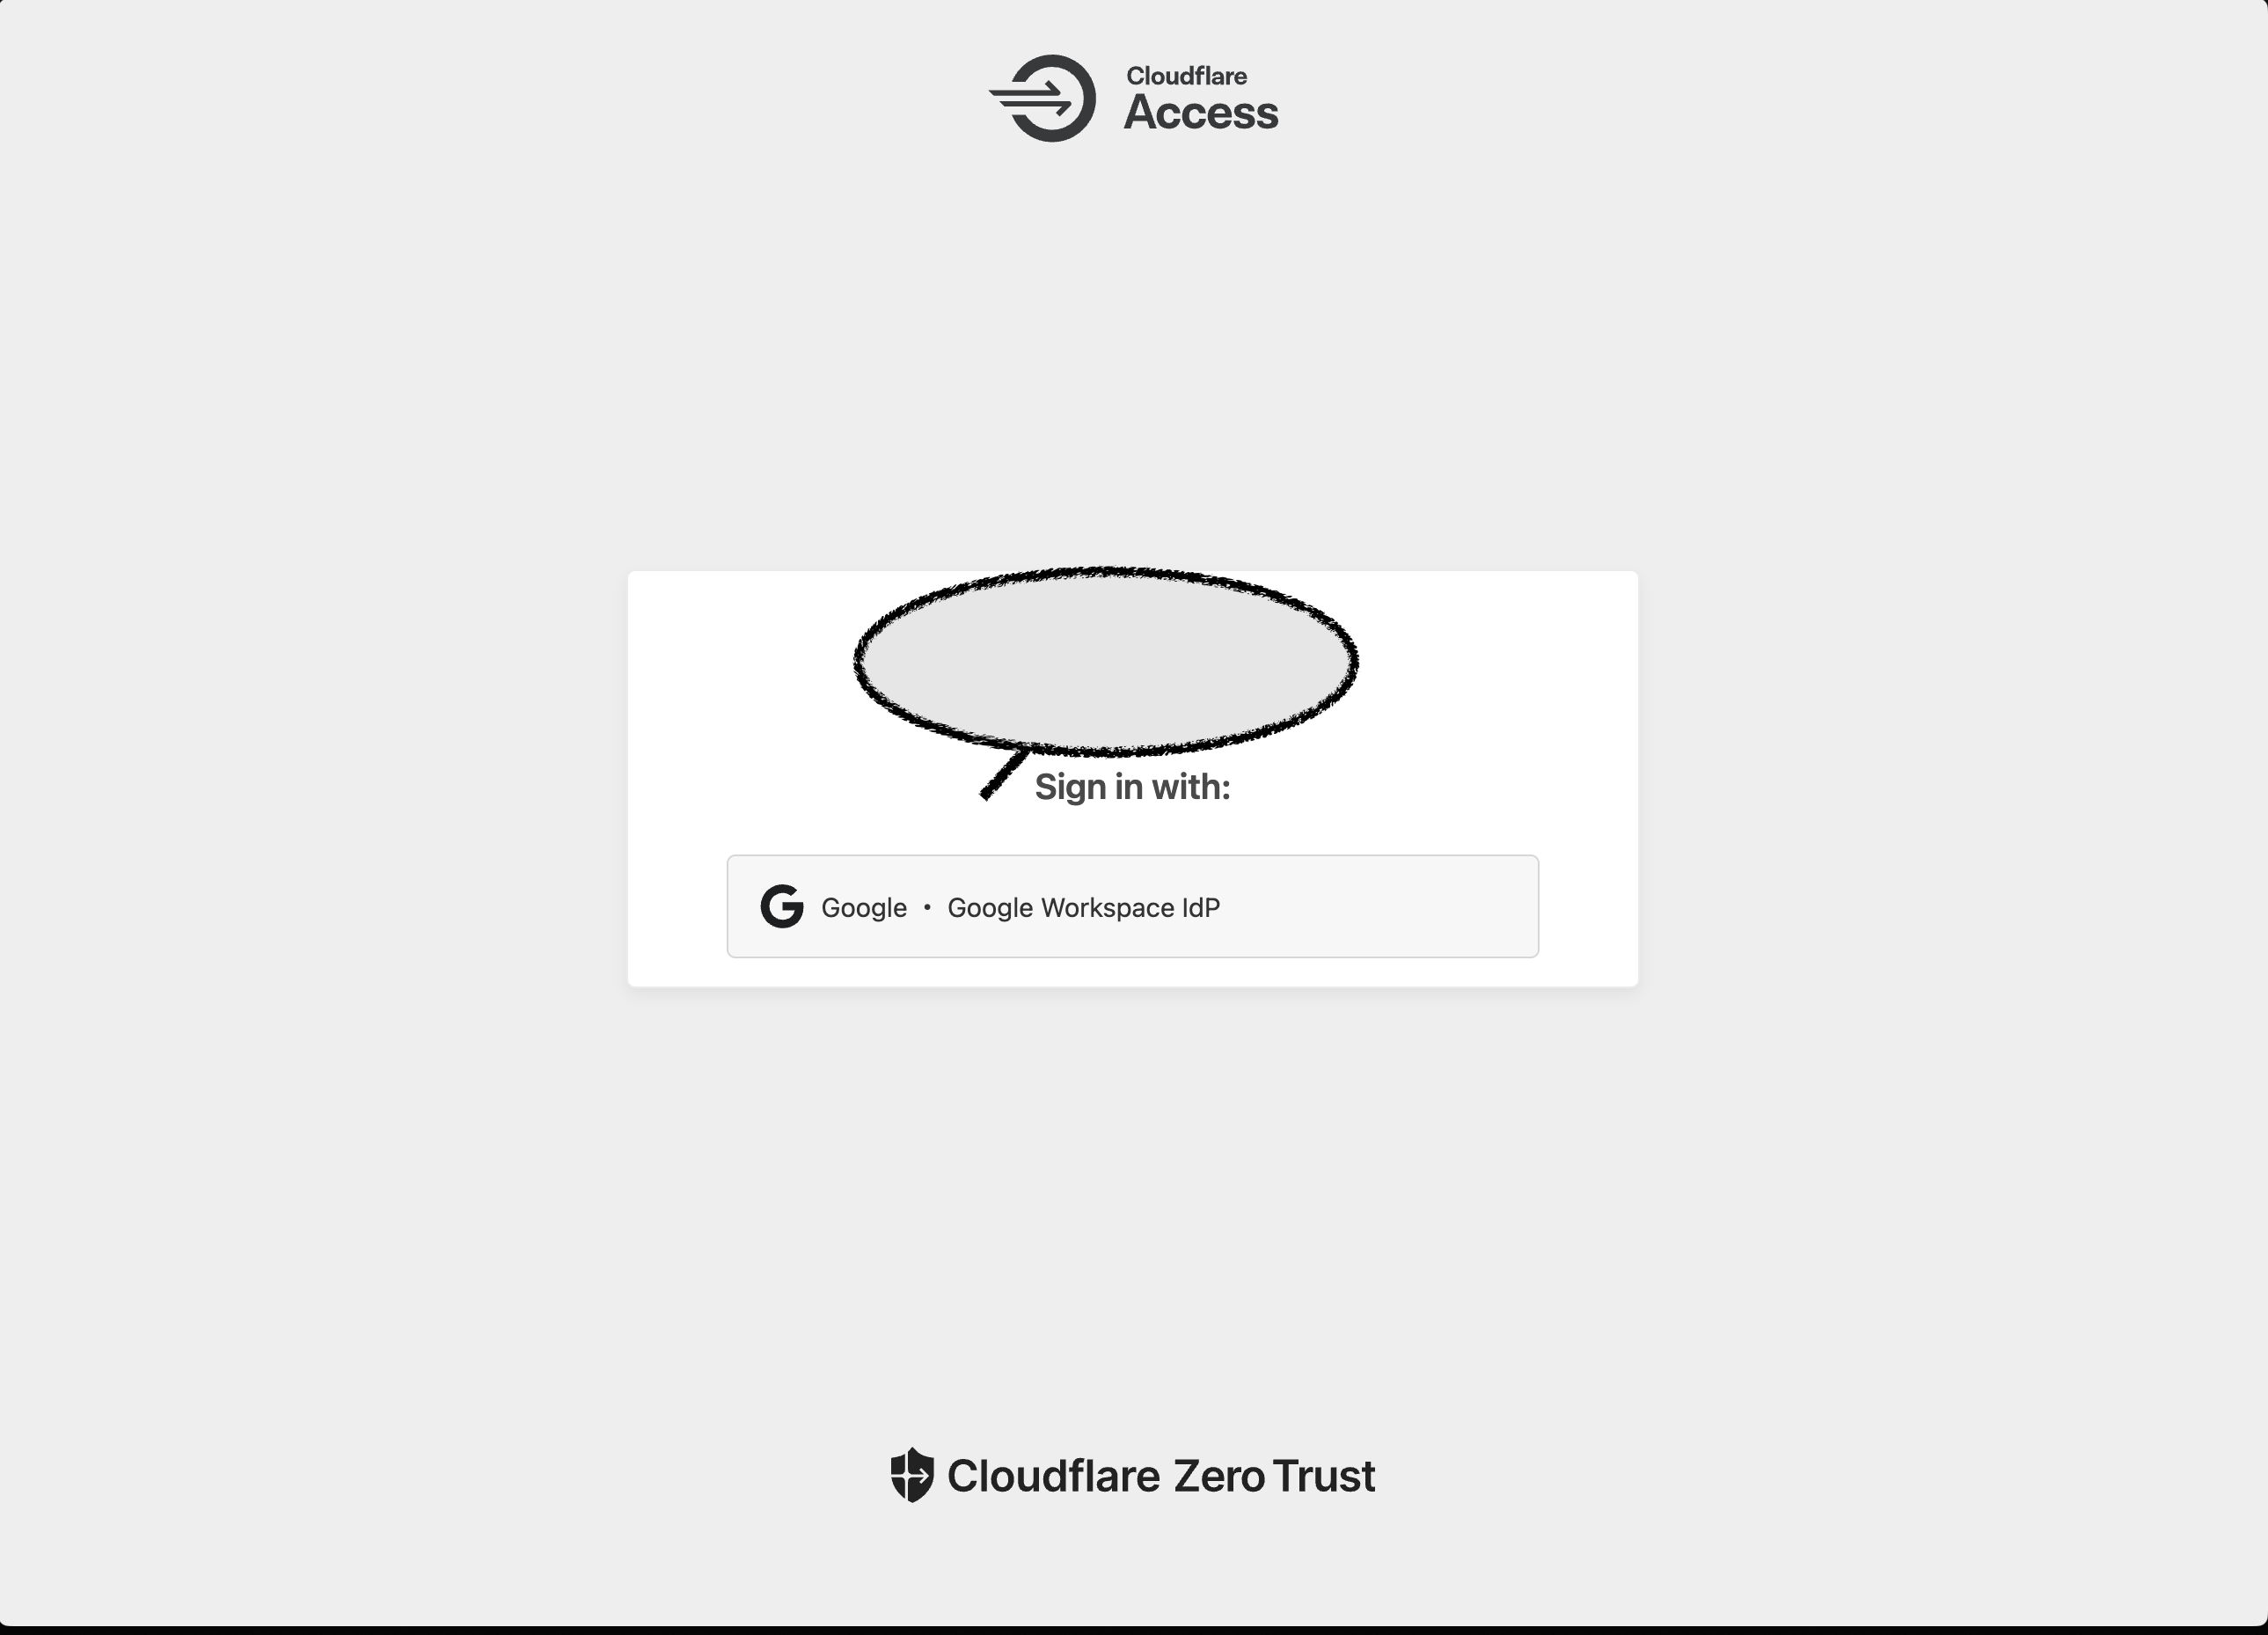
Final Look of the Internal Web App with Cloudflare Zero Trust
And since the use of warp client is made a requirement, if you dont have it turned on or there is other required policy that isnt being met, you will encounter a screen like this
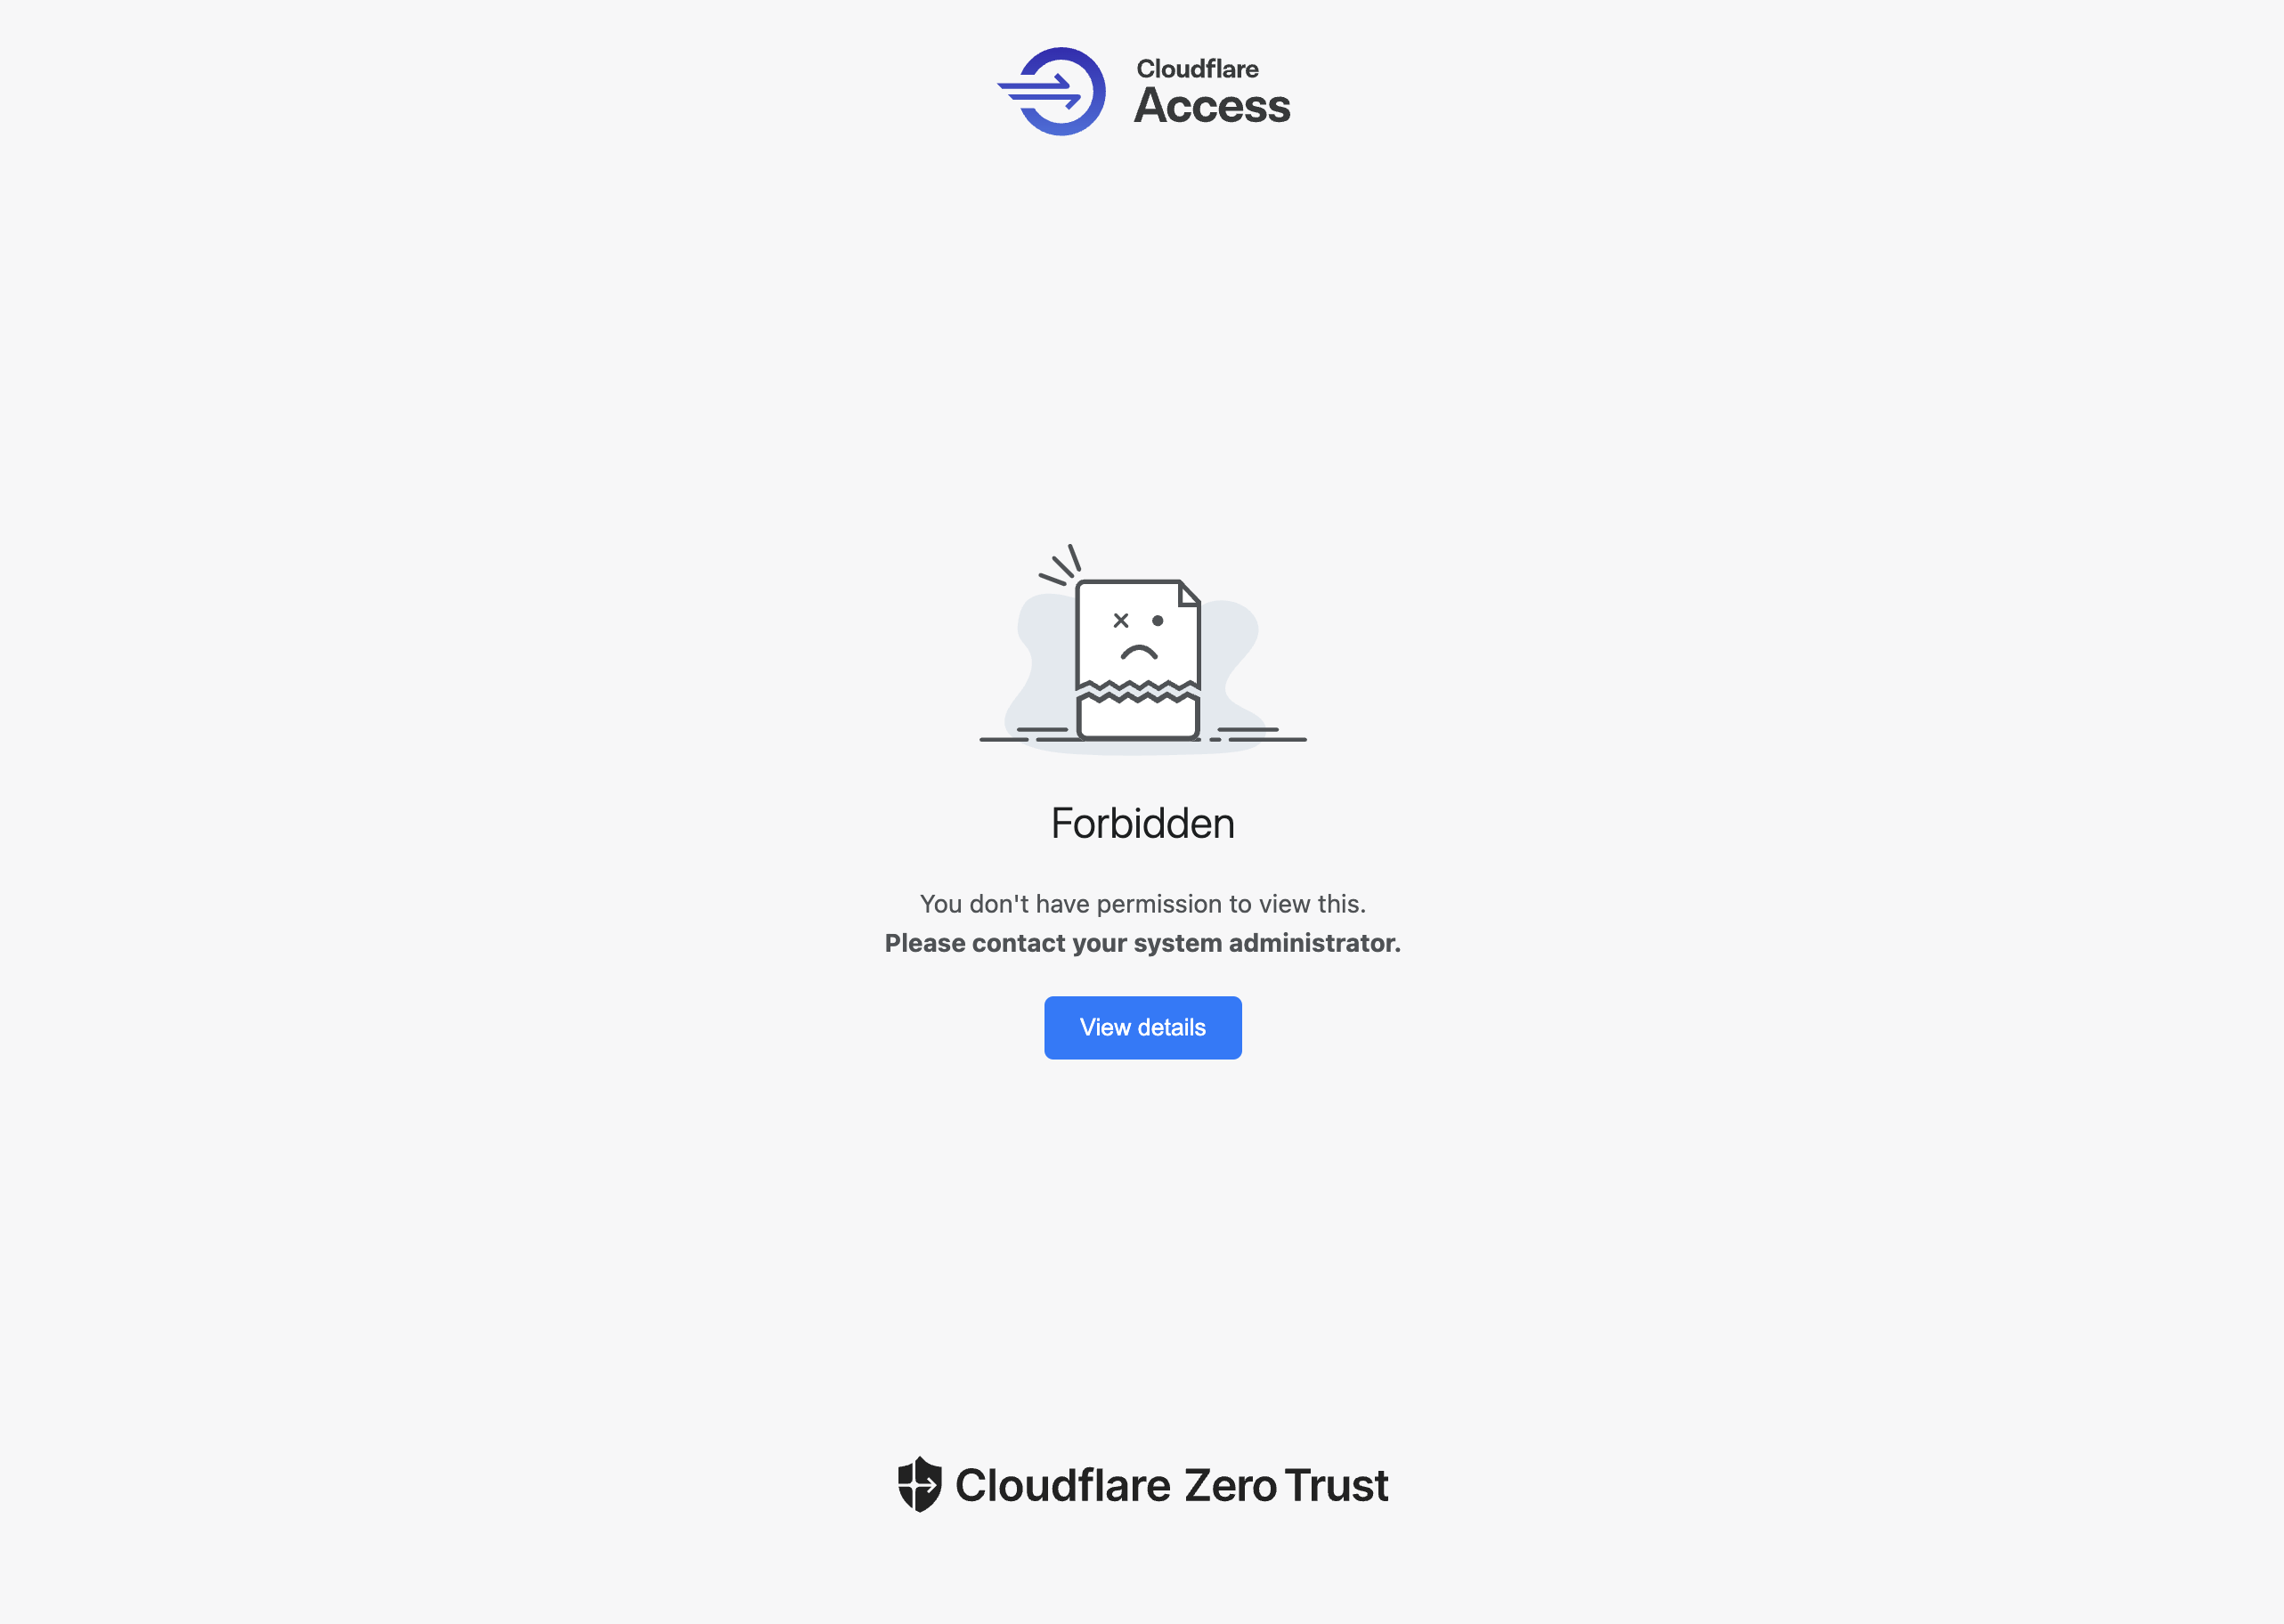
Final Look of the Internal Web App with Cloudflare Zero Trust Without Meeting The Policy Requirements
Completion criterion
The setup is complete when:
- The EC2 instance has no public IP and lives in a private subnet.
- The cloudflared container is running and the tunnel shows healthy in the Cloudflare dashboard.
- A DNS record points the internal domain to the Cloudflare Tunnel.
- The Access policy requires Google Workspace authentication and the WARP client posture.
- With WARP turned on and the user in the allowed group, the app loads.
- With WARP off or the user outside the allowed group, the access-denied page is shown.
Conclusion
By using Cloudflare Zero Trust and Tunnels, we've created a secure, cost-effective way to deploy internal applications. The solution provides enterprise-grade security without the complexity of traditional VPN setups.
Till next time, Peace be on you 🤞🏽
References
- https://noise.getoto.net/2022/02/10/adding-a-casb-to-cloudflare-zero-trust/
- https://blog.marcolancini.it/2024/blog-building-apprunner-ec2-cloudflare-zero-trust-access/
- https://developers.cloudflare.com/cloudflare-one/connections/connect-networks/deploy-tunnels/deployment-guides/aws/
- https://zenn.dev/hiroe_orz17/articles/b028fdb5444ee0